
How to Organize Your Freezer in a Morning . . . Seriously
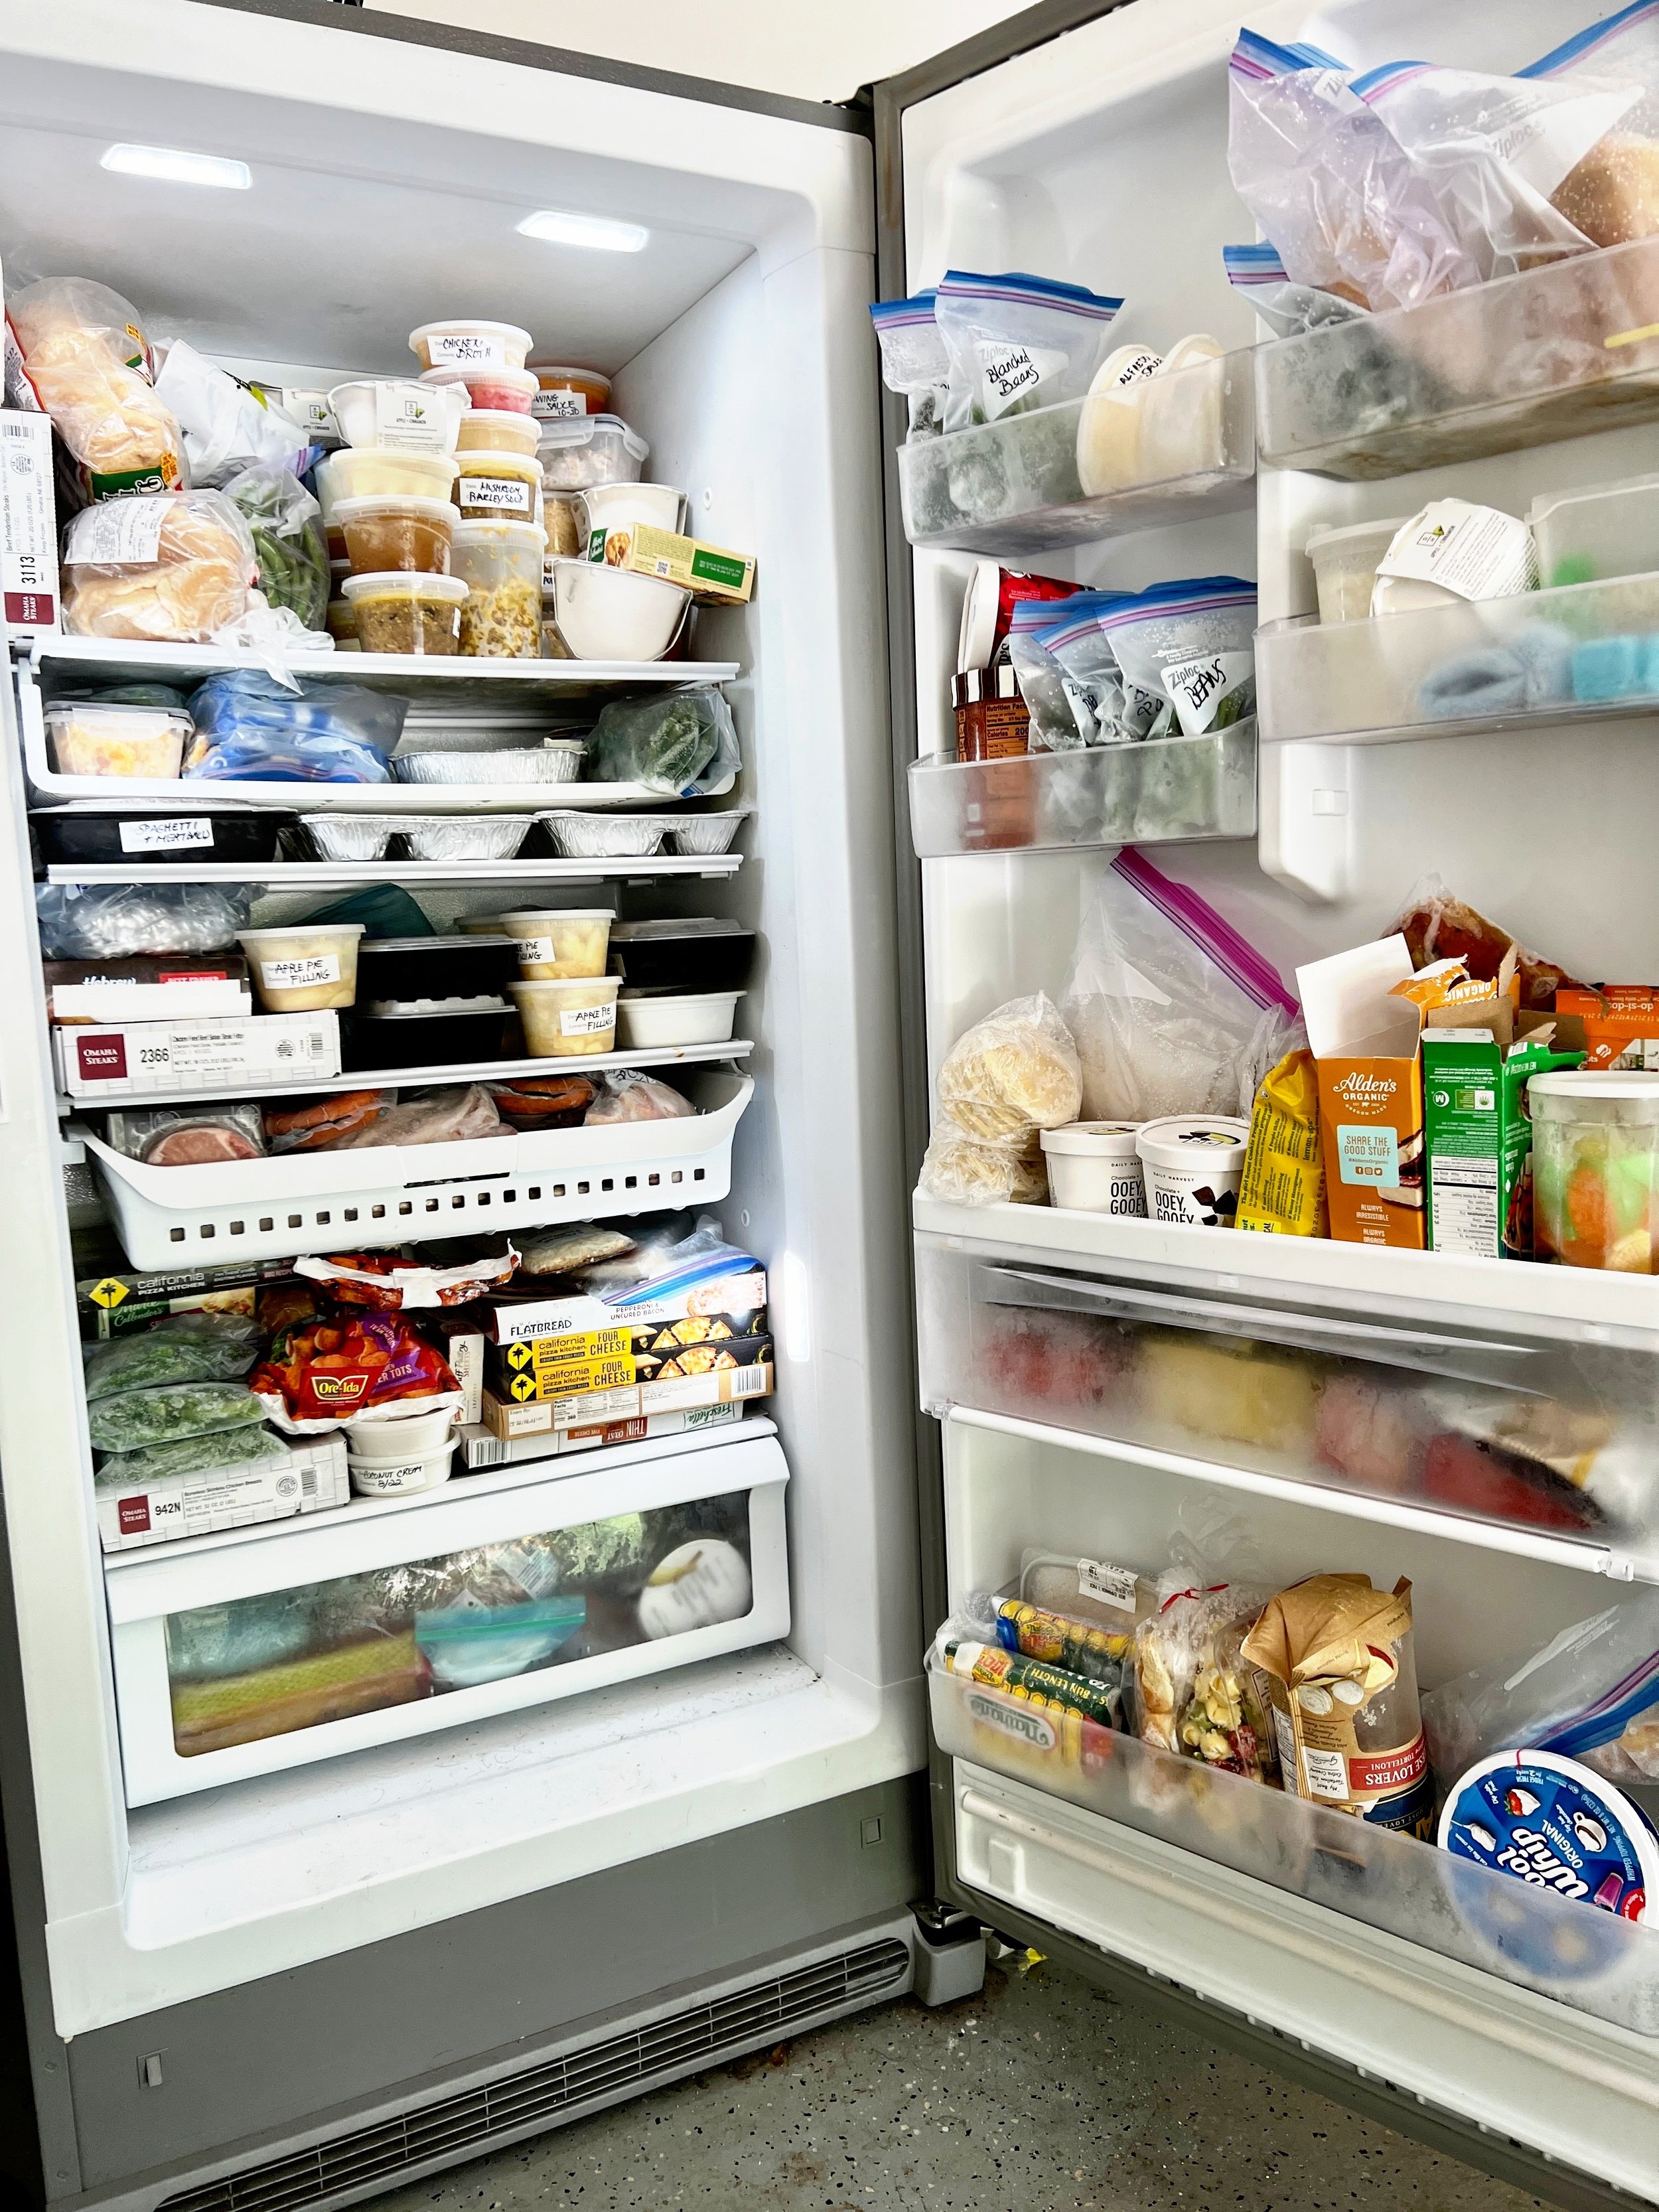
So - raise your hand if your current freezer situation looks like this. Last Saturday morning mine did. Every time I opened the door, something fell out. Not to mention I couldn’t locate anything that I thought should be in there. Sound familiar?

Knowing my freezer needed some serious attention, I decided to face it head on. First, I thought long and hard about what function I wanted my freezer to serve. In fact, I wrote it down. Then I compiled a list of what I would need to better organize the contents and made a few specific purchases (see below).
Then the day arrived. I actually had to put my plan into action. I gathered all my supplies, entered the garage and opened the freezer door. Then . . . I immediately closed it and went back inside. This was going to take some courage. I switched out my tall kitchen garbage bag for a very large contractor’s bag and went back out. Here’s how it all unfolded and the steps I took to create my vision. Follow these steps and you can have your own masterpiece in no time!
By the way - unless you plan on defrosting your freezer as well as organizing its content, it’s not necessary to unplug it. Just be sure to close the freezer door when you’re not actually in it to preserve the set temperature.
Step 1: Out With The Old
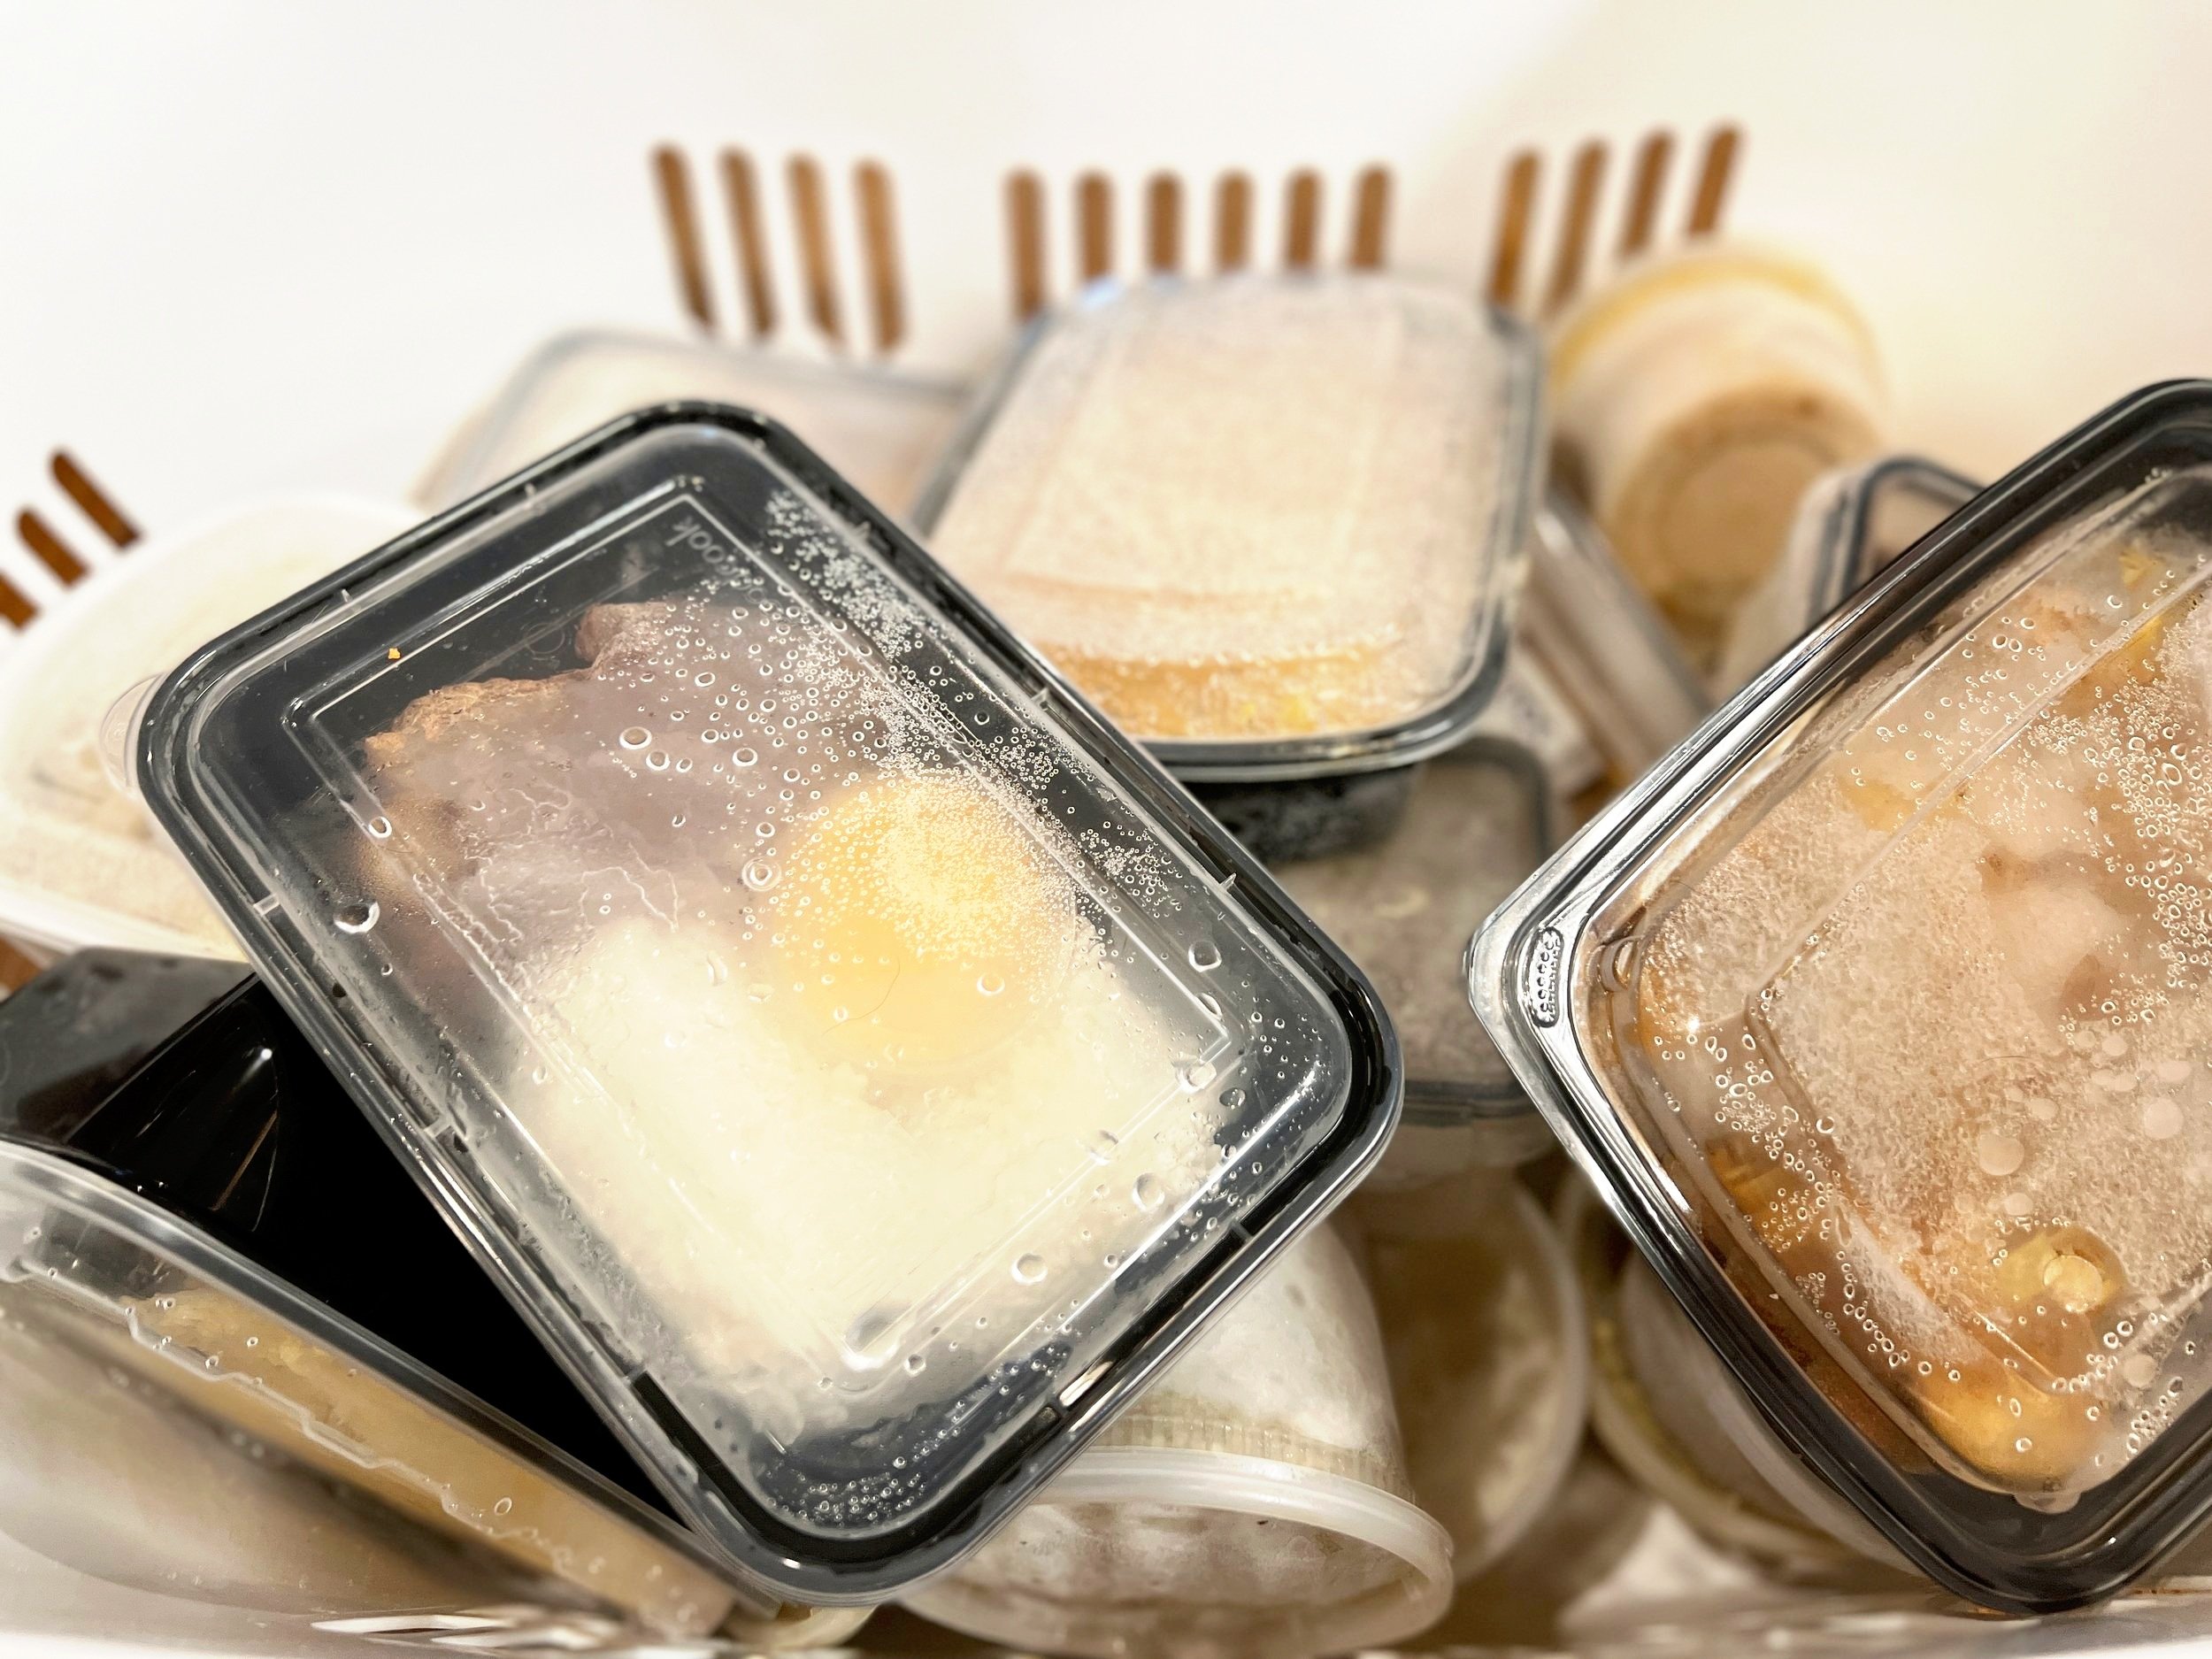
Remove all the freezer containers that hold unmarked leftovers or those that are marked but have exceeded their useful life. Leftovers really only should be kept in the freezer between 3 to 4 months. Frozen leftovers kept longer tend to lose their flavor (and then you won’t want to eat them anyway). Using a large laundry basket to hold all the containers made this part really easy.
Step 2: Say Good-bye
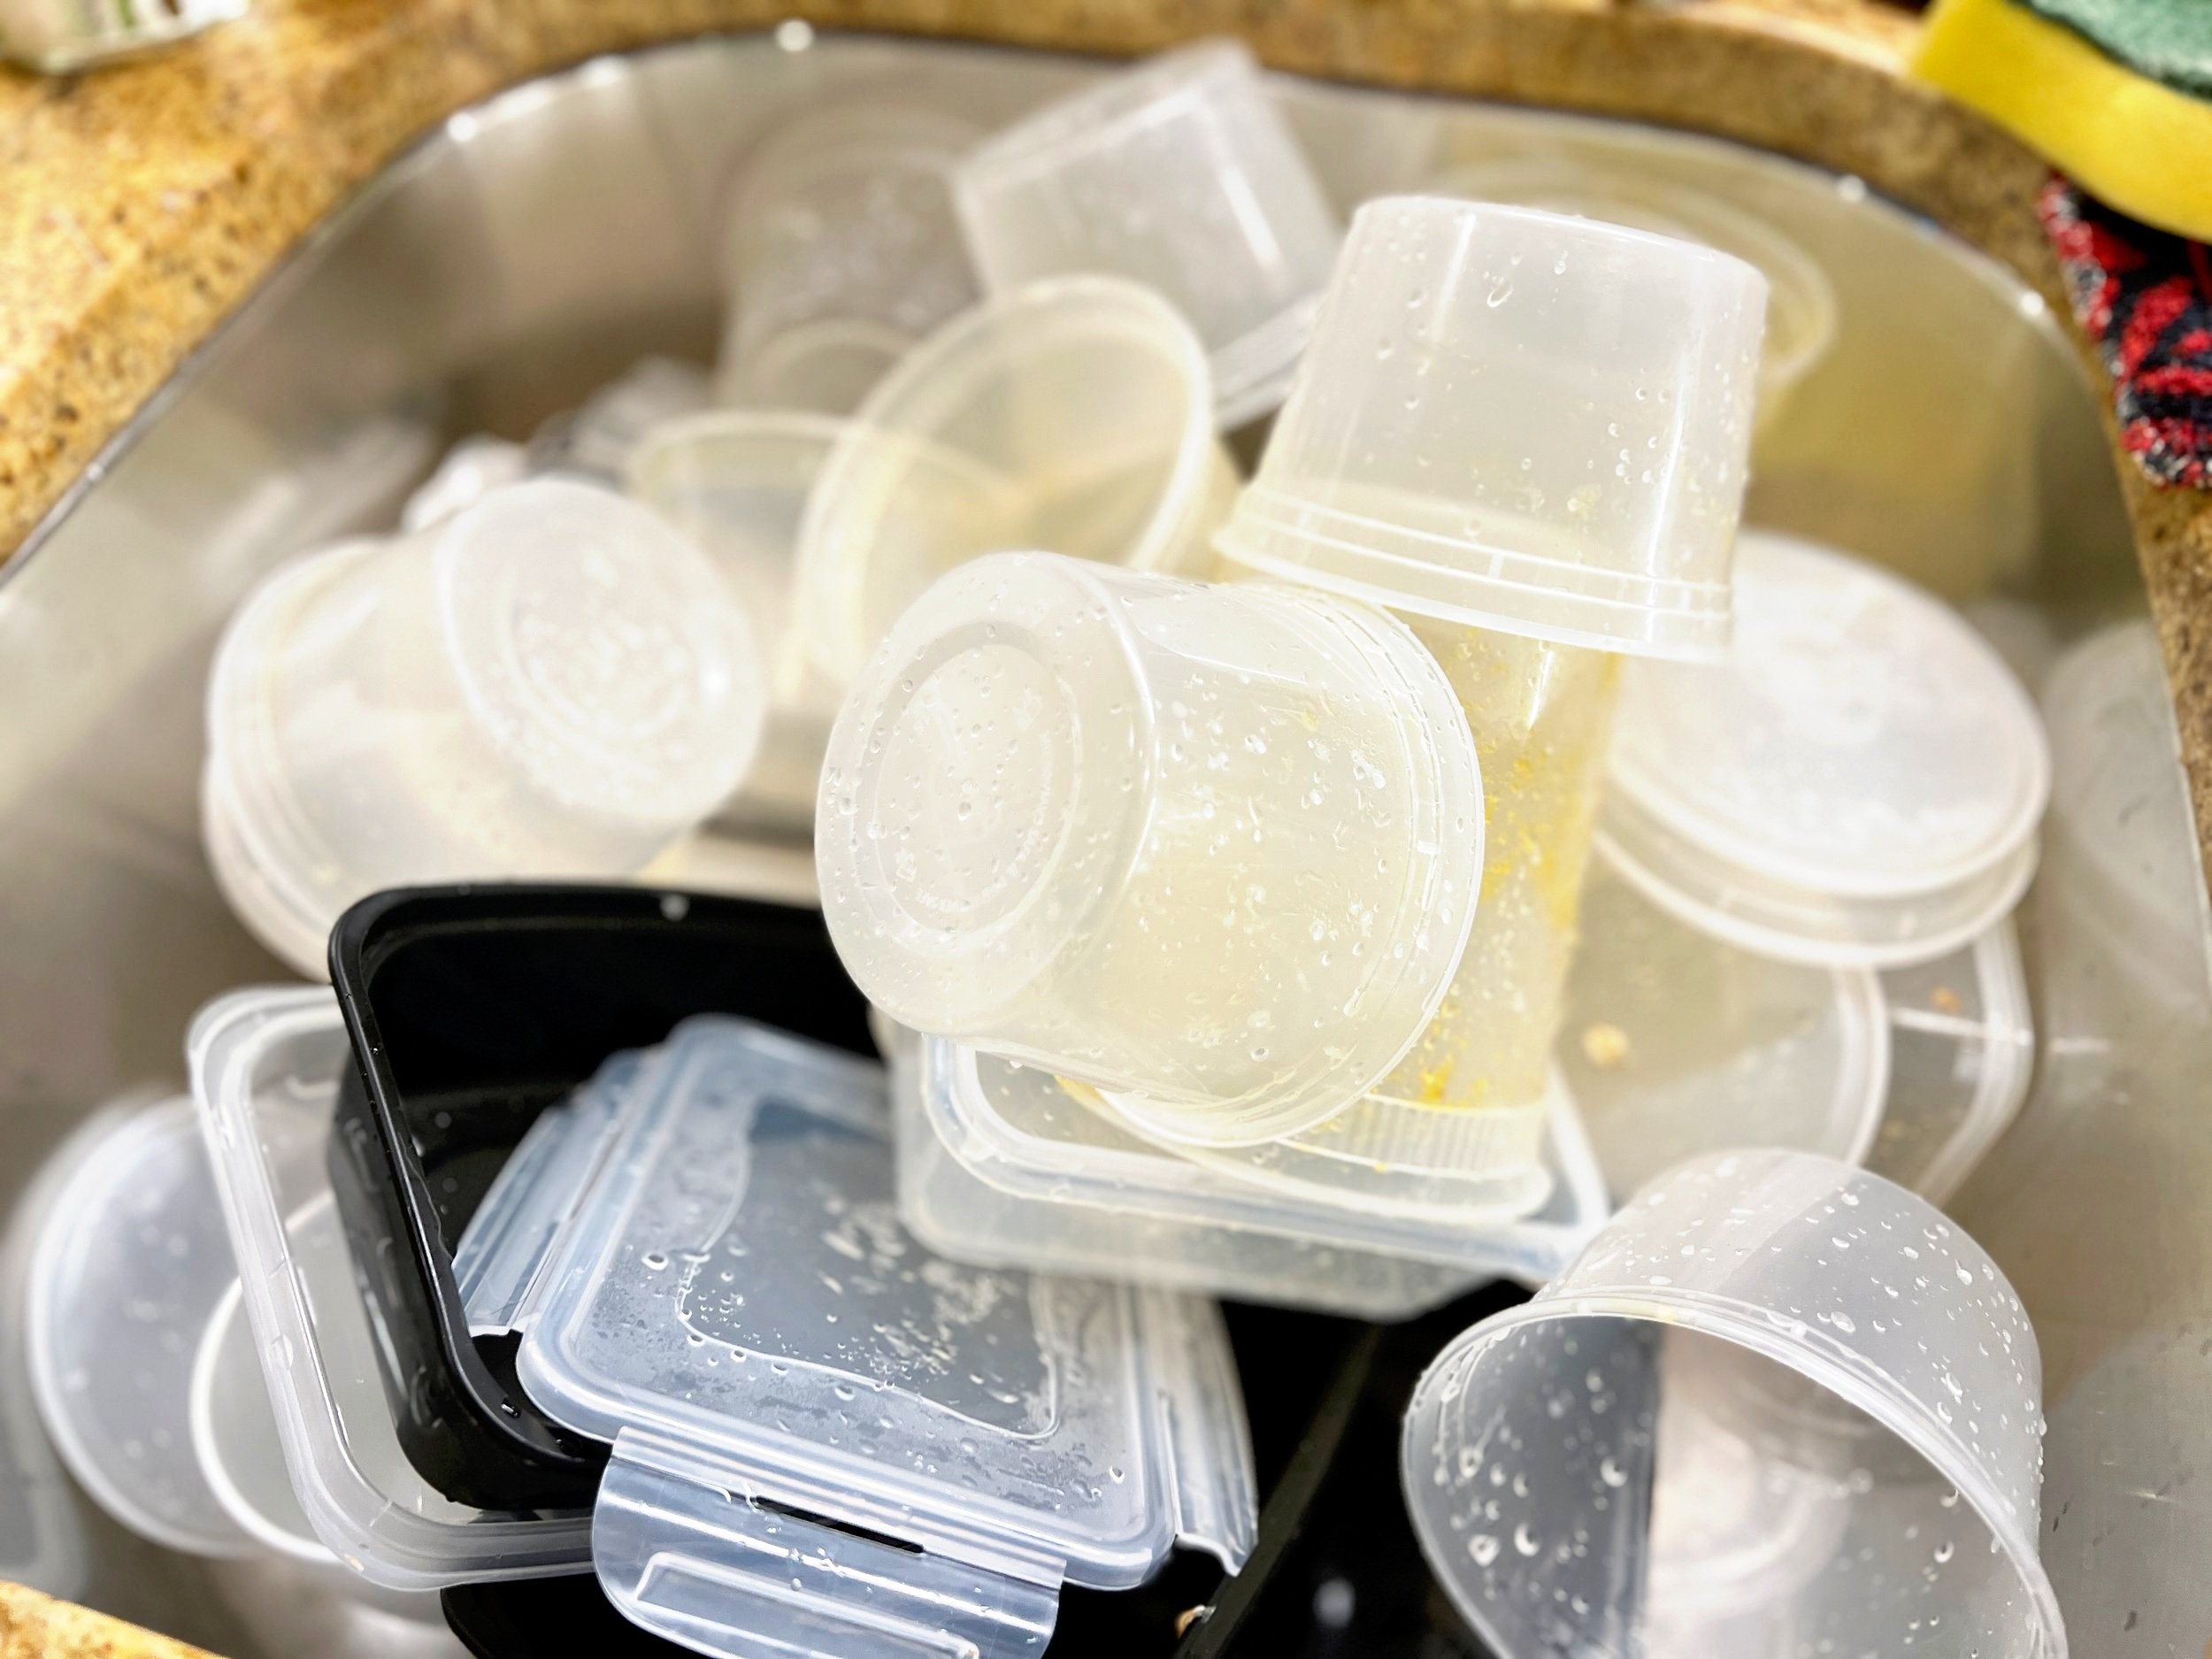
Empty out all those freezer containers you just removed. Inspect each container and throw out any that are damaged, stained or broken. Those that can be salvaged can be run through the dishwasher on a light setting (no heat) or washed by hand, then stored for future use.

Step 3: Bury the Dead
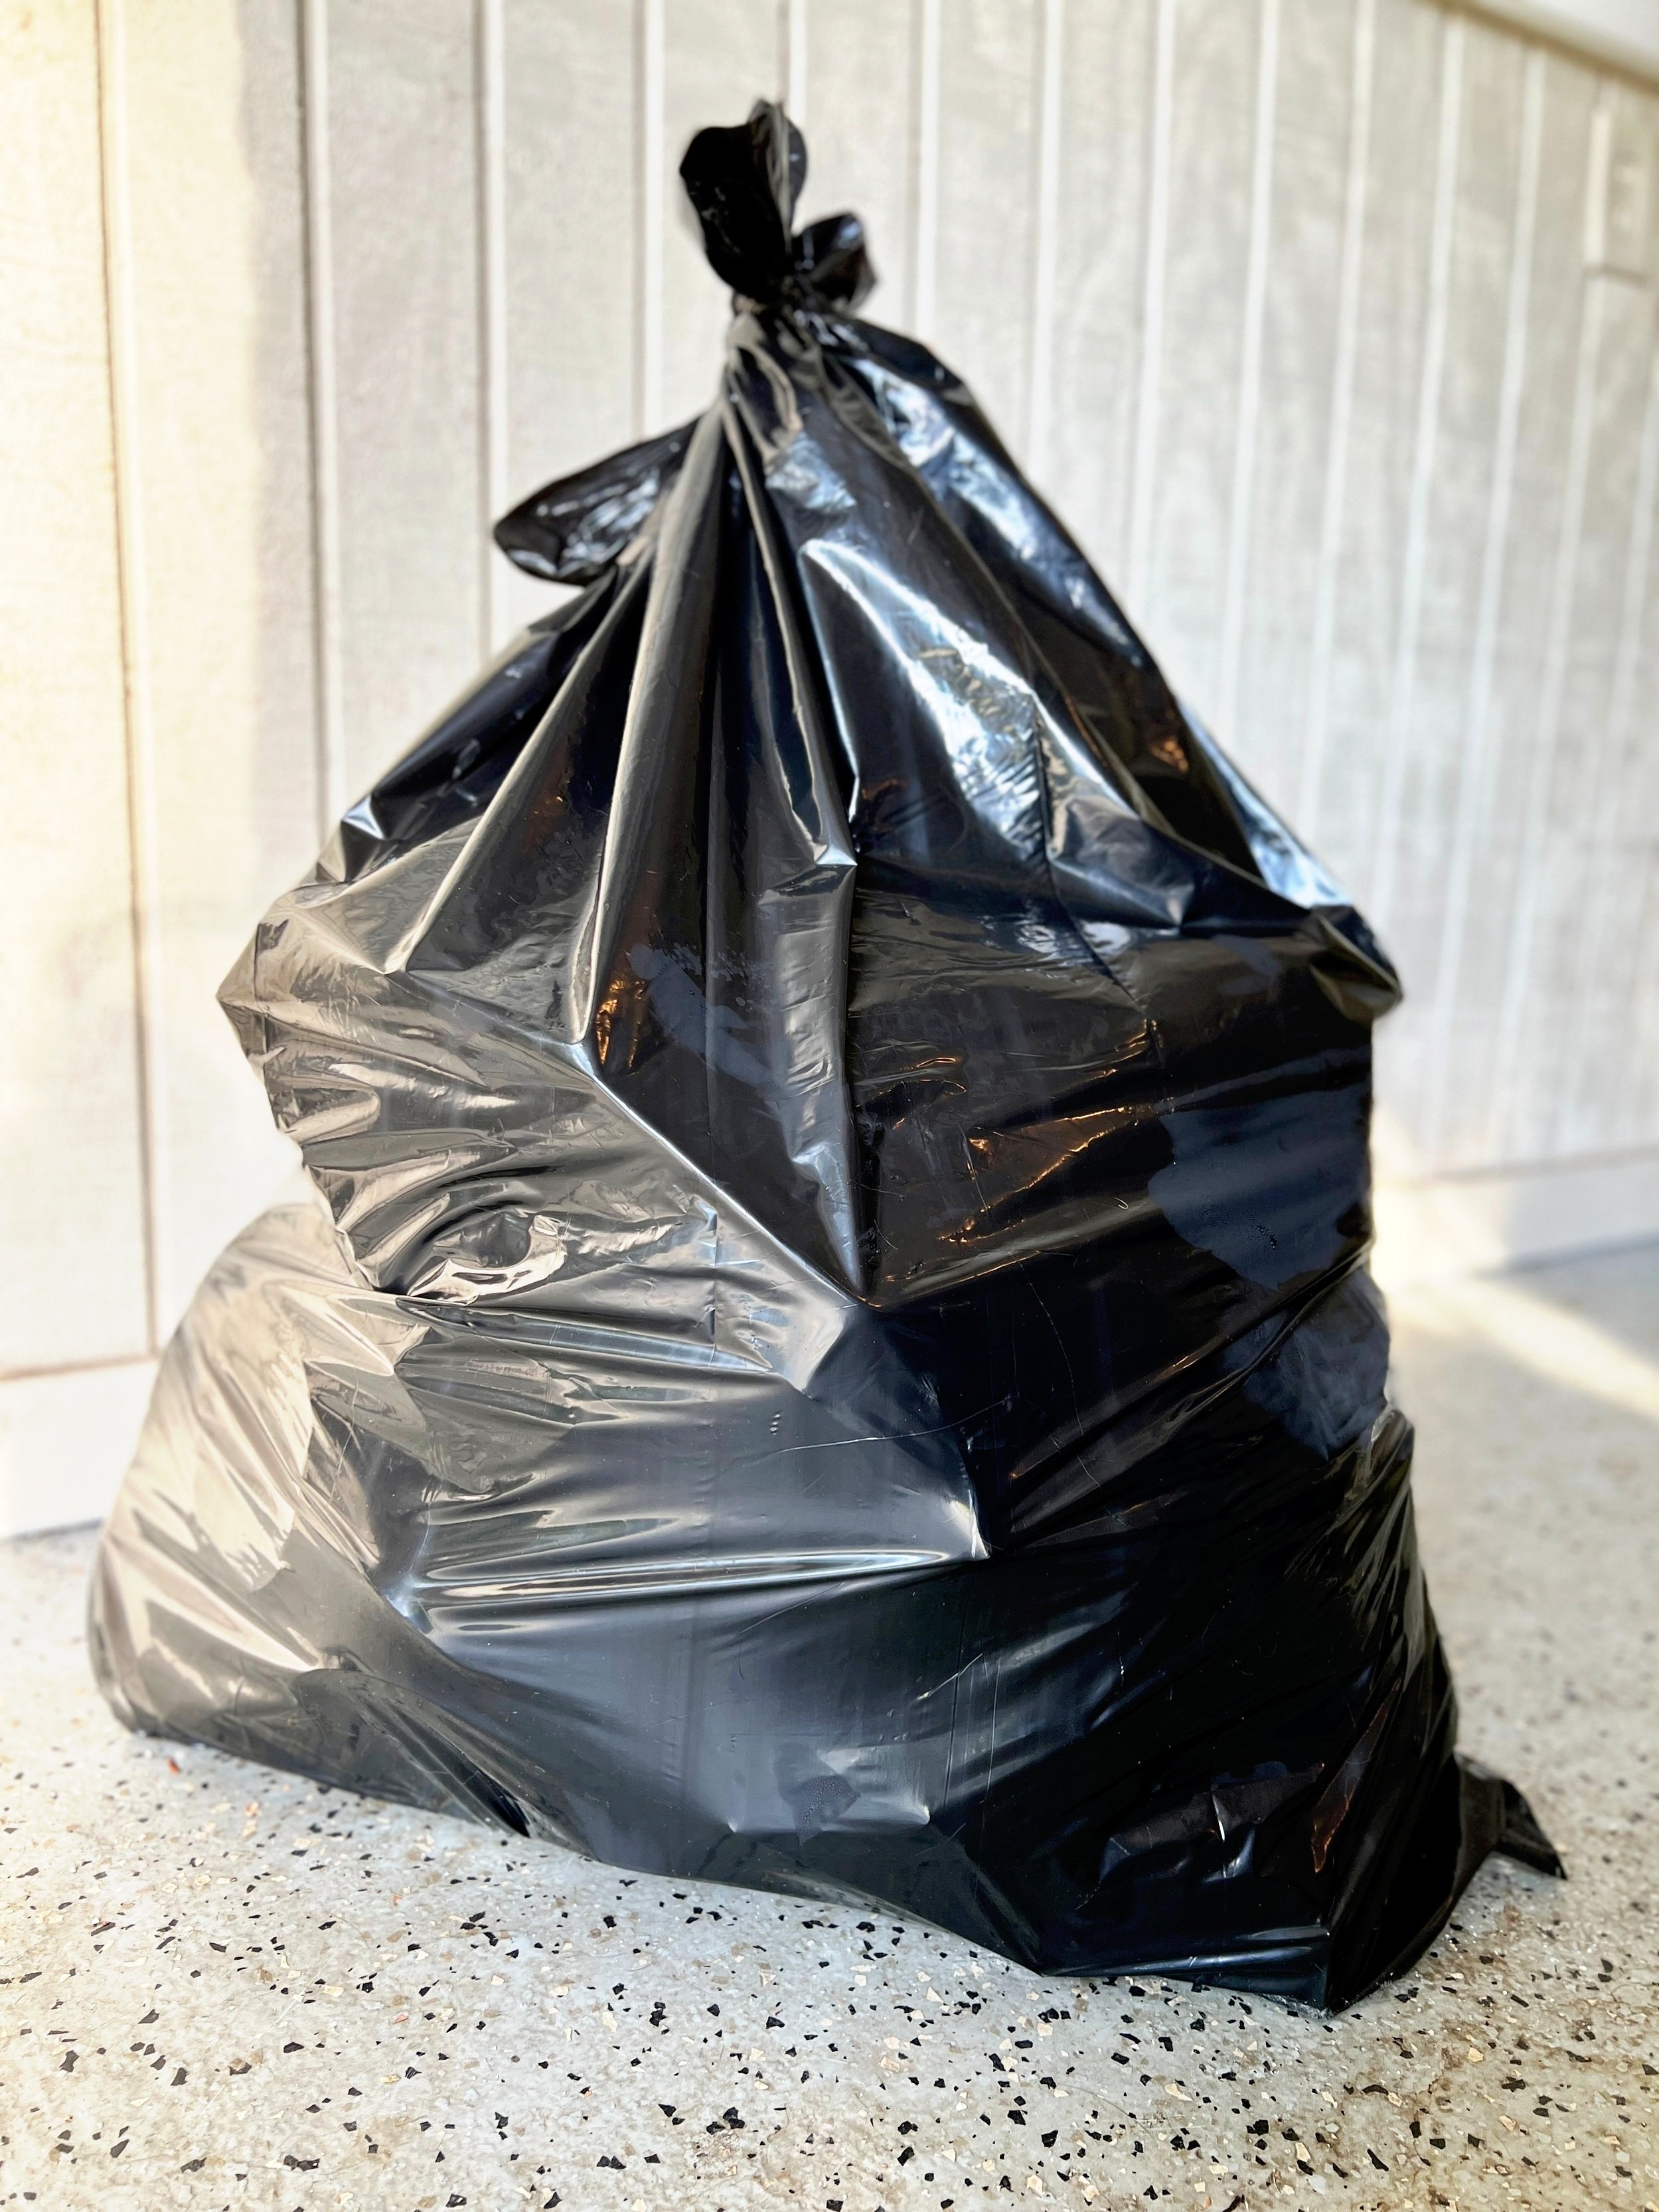
Grab a garbage bag (or in my case, a contractor’s bag) and throw out anything that is past its expiration date. Even if it’s just “a little” past. Trust me on this. If it’s been in your freezer that long, you’re not going to eat it. My winner was a bag of Tyson chicken nuggets - expiration date: March 2018. LOL

Step 4: Show Some Love
Remove any items that you’ve stored in freezer bags and any food containers that weren’t disposed of in Step 1. Set all these bags and containers aside for now.
Remember that freezer function that you thought about at the beginning of this project? The one that helped create your fabulous freezer vision? Now’s where it comes into play.

Step 5: Create Your Vision
First, go back and revisit your freezer function. Is it still what you want (or need)? Can you create your fabulous freezer vision in the space you have available? If not, spend some time rethinking and adjust course. If so, then forge ahead.
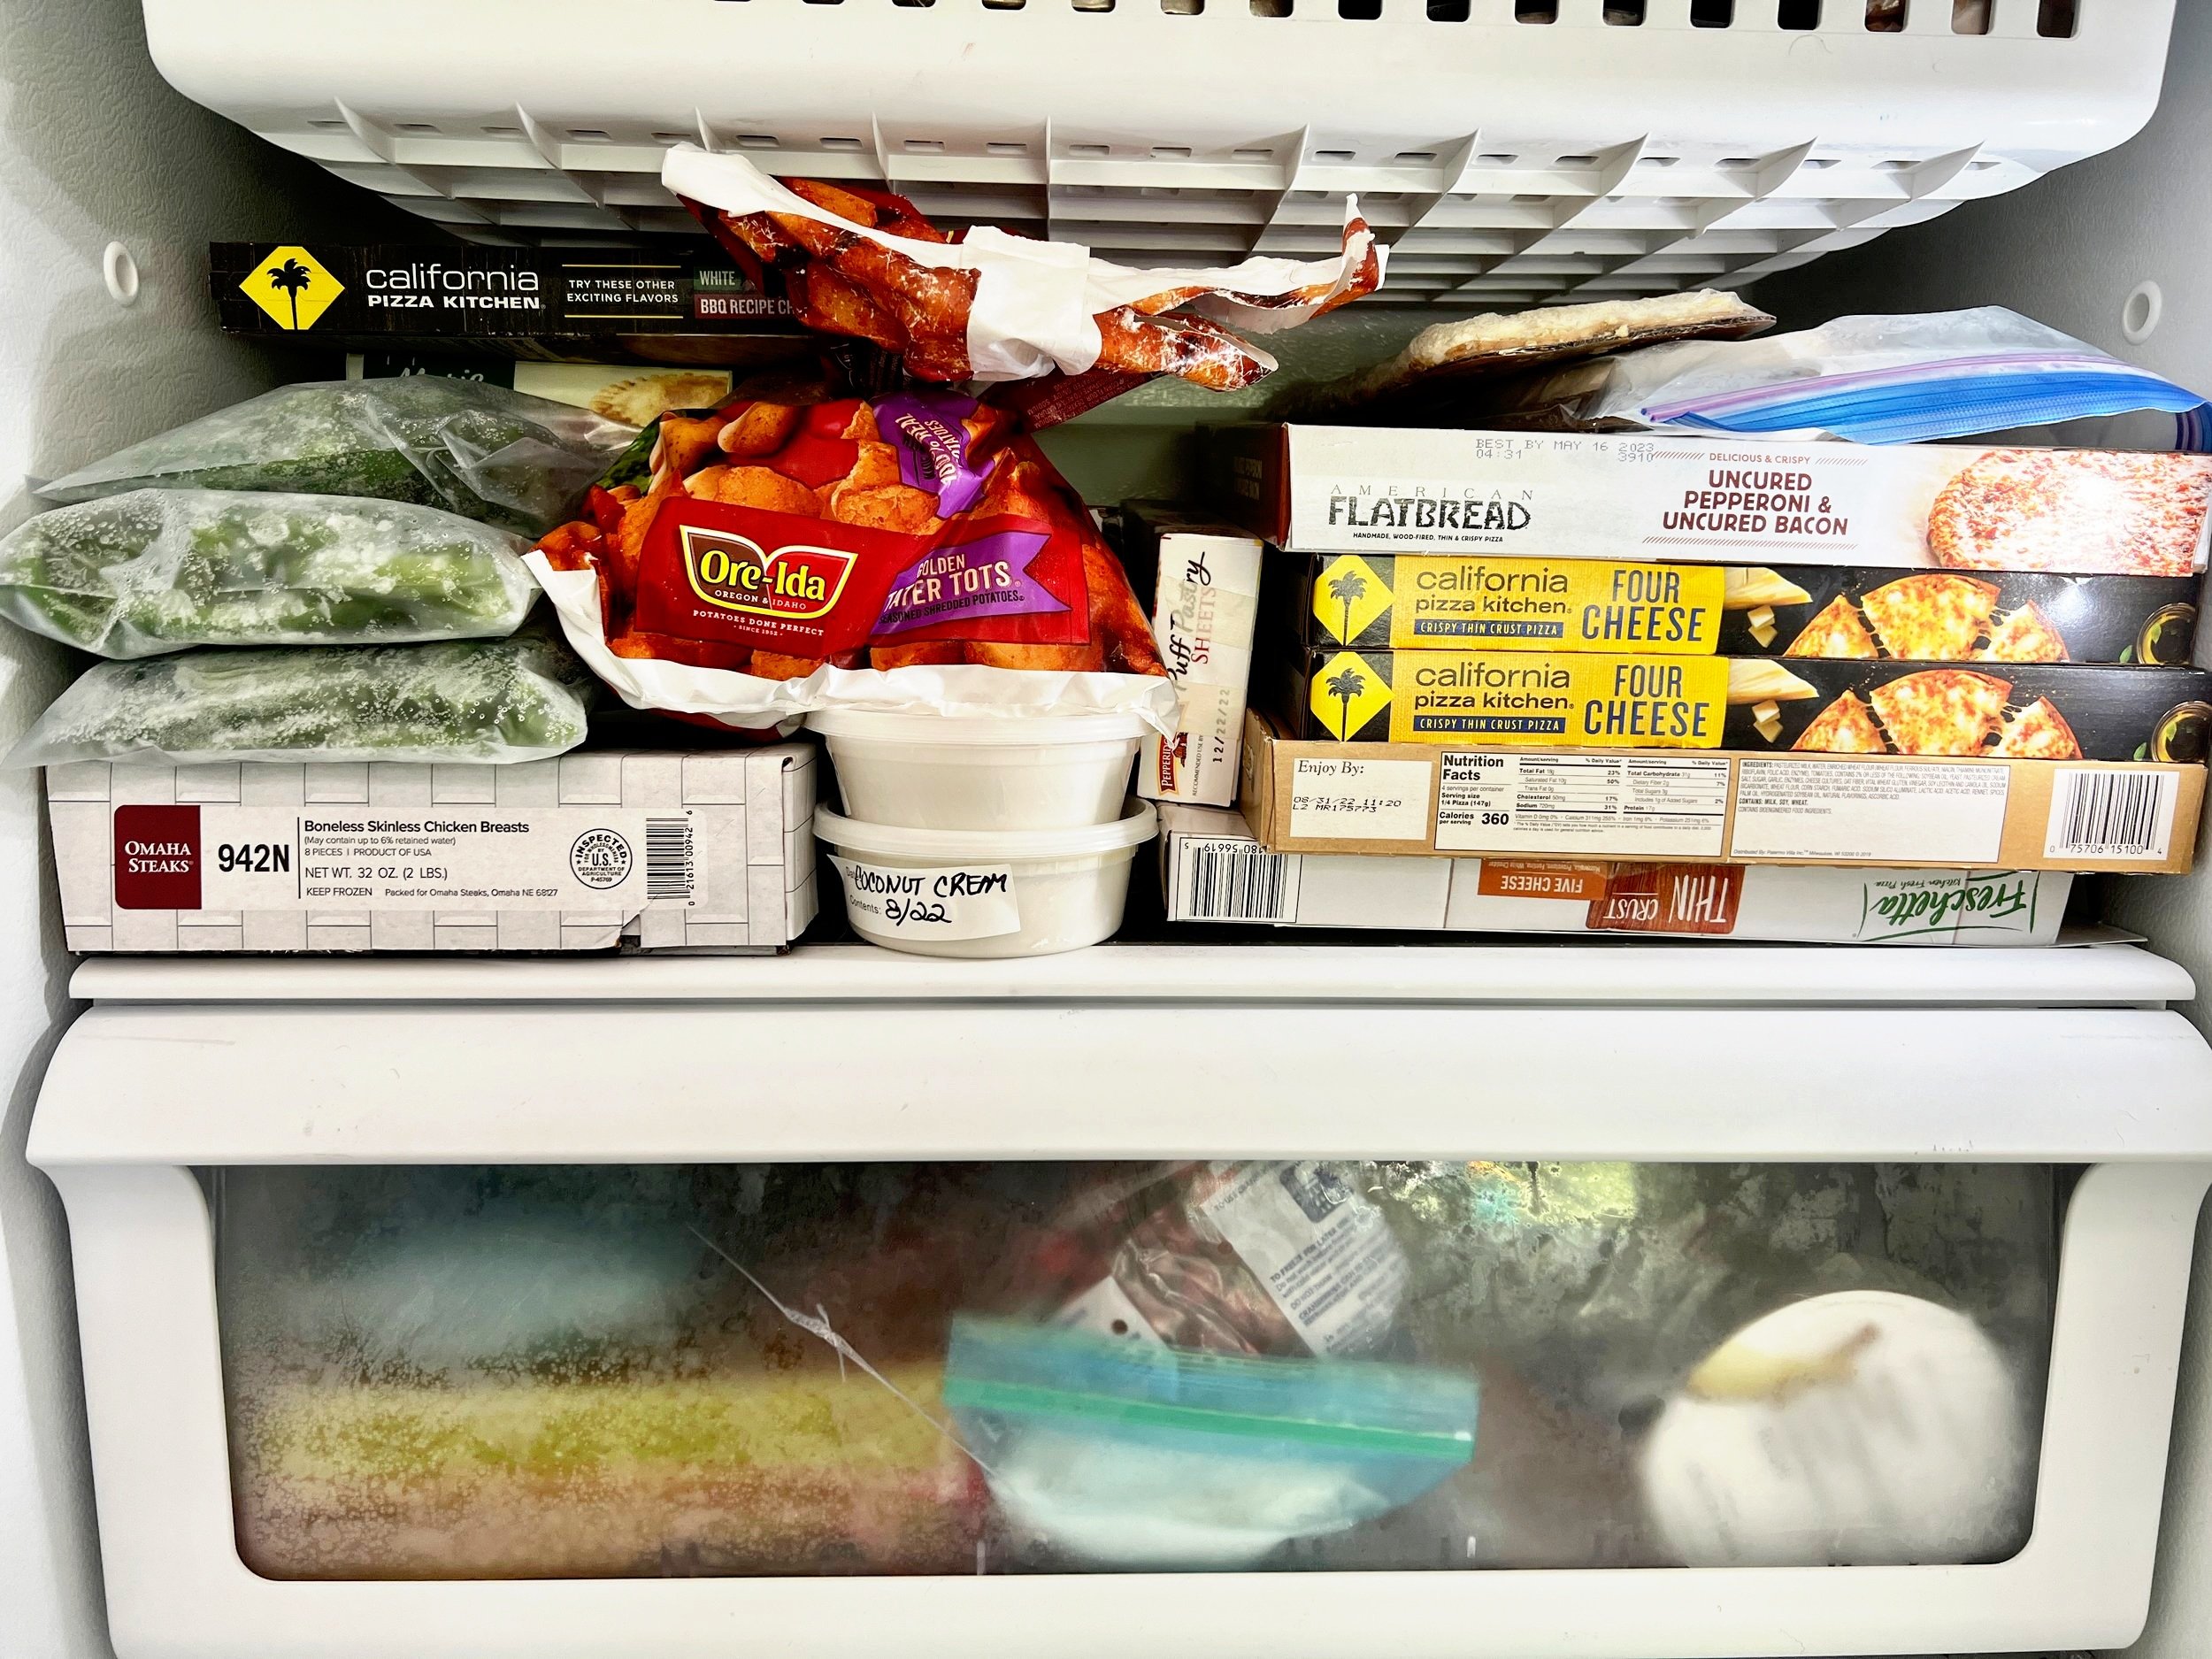
I had already decided that my freezer needed to function as a holding place for various harvests and fruits from my kitchen garden like green beans, broccolini, raspberries and blackberries. I also had numerous containers that held fresh key lime juice (from my key lime tree), homemade chicken and veggie broths, apple pie filling (from my orchard apples) and homemade pestos and marinaras. These containers and bags needed to be corralled in an organized manner where they would be easily seen and super accessible.
To accomplish my goal, I used freezer bags and a vacuum sealer, labels, clear containers of various sizes and clear bins. Here’s my super short supply list:
Vacuum Sealer (mine’s a Cuisinart, but there are many to choose from)
Deli Food Containers (these are stackable and come in 3 sizes)
Clear Bins (my favorite bins are made by iDesign)
I specifically wanted bins that were the depth of my freezer and were tall enough to hold quart size freezer bags and support a short stack of containers. I found them at The Container Store. But depending on the size of your freezer and how you plan on using the bins, you may need a different size. Here’s a link to the iDesign Store on Amazon.

Step 6: Fine-tune Your Masterpiece
As you progress through your freezer, take the time to clean off each shelf and adjust the shelf heights if needed. I ended up removing a basket attached underneath the top shelf of my freezer for extra space. As you put everything back, be sure it’s all correctly labeled and think about location. What do you use most often? What can find a home in the door versus on the shelves?
For me, it makes the most sense to group similar foods (or ingredients that are used to create particular cuisines) together. I put items that I use more frequently at eye level and those that I use less often in a drawer or on the lower shelves. Smaller items go in the door or I use one of the bins. And remember - label, label, label! You will be super glad you did!

Step 7: Pat Yourself on the Back
You did it! And it didn’t really take that long. Now you can actually see what you have and you won’t be risking injury every time you open your freezer door.
On that note, I’ll leave you with this. Next time you’re about to put that container into the freezer, ask yourself the following:
Do I really want to keep this?
Will anybody eat it in the next 3 to 4 months?
If so, is it properly labeled?
Sign up for the Kitchenairy Gardens email list to get more practical tips and ideas. And be sure to follow me on Instagram and Facebook (@kitchenairygardens) and on Pinterest (@kissmygardenish).